Studio Notes
Paper Mache for Sculpture
Large paper mache forms are trouble. Long drying times, uneven shrinkage, cracking. Mold if you're unlucky.
The solution: don't build solid. Build thin layers over a core.
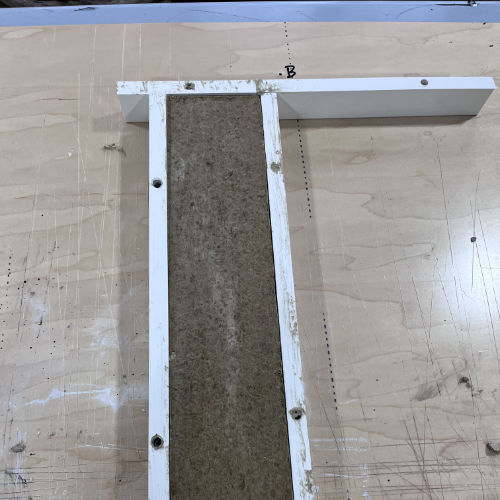
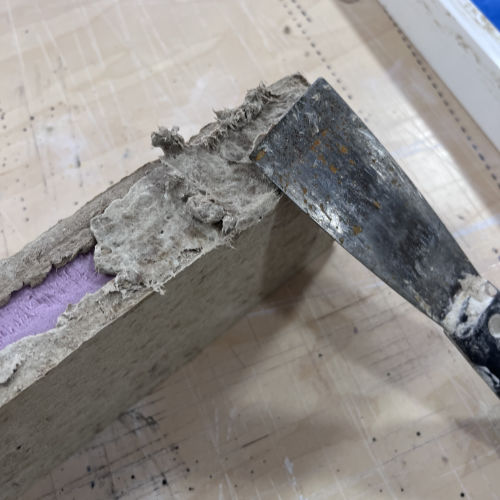
I use blue construction foam as the armature. Light, rigid, easy to carve. The paper mache clay goes on in thin coats - maybe a quarter inch at a time. Each layer dries completely before the next.
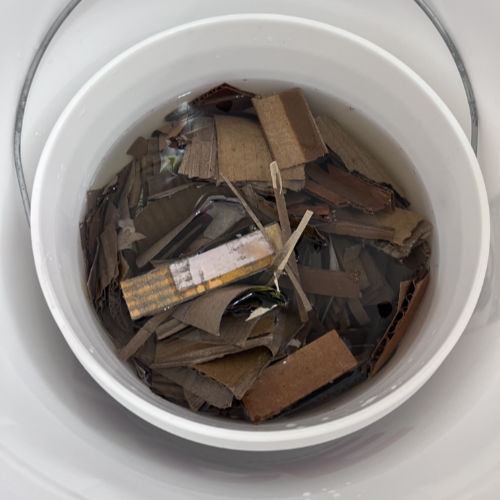
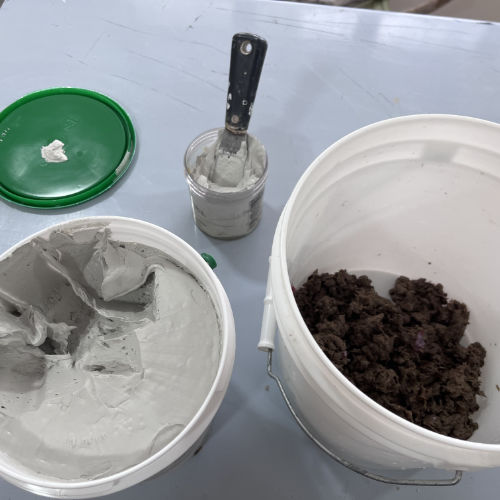
The clay itself starts as cardboard. Torn into pieces, soaked overnight, blended into pulp. The recipe: four parts pulp, two parts joint compound, one part wood glue, a tablespoon of mineral oil. Mix until it handles like thick putty. The joint compound gives it body and smoothness, the wood glue adds strength when dry, the mineral oil keeps it workable.
A lesson learned: not all cardboard is equal. Glossy printed boxes often have thin plastic film laminated to the surface - it makes the colors pop on the shelf. That film doesn't break down. After soaking, you're left with soggy cardboard and floating plastic scraps that have to be picked out by hand. Plain brown corrugated works best. Check for that slick surface before you toss it in the bucket.
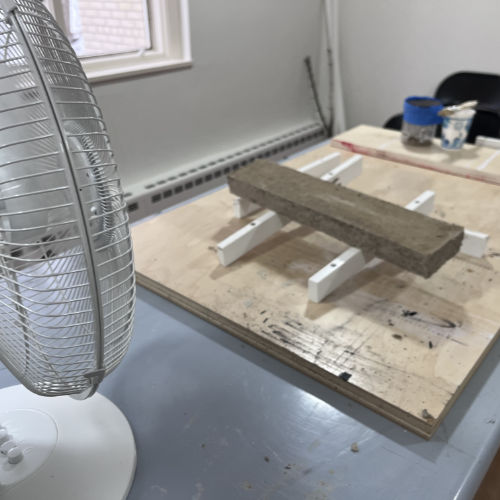
The process is slow. The fan helps. Forced air moves moisture out without the heat that causes cracking. Each layer takes a day or two, depending on humidity.
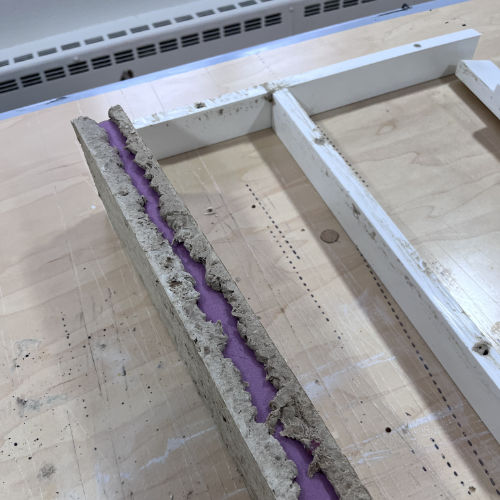
What you get is a rough surface. Fibrous, irregular. The pulped cardboard keeps its texture even after drying. It doesn't look manufactured. It doesn't look precious. It looks like something that has accumulated, weathered, survived.
The foam disappears inside. What remains is the shell - thin enough to dry evenly, strong enough to hold form. Ready for the next layer, or ready to become part of something larger.